
So you purchased (or placed) a tree in a pot.. Now what?
Depending on the season of the year, the type of tree, and the health of the tree, the fastest and most satisfying answer may be to put wire on the branches, and to form the branches into the shapes that you are envisioning.

Wire should lay on the branch in a spiraling pattern. Generally, good technique is to shoot for a 45 to 60 degree angle in relation to the direction of the branch. This gives the wire good strength to bend in all directions.
We must plan the application of the wire in a way that we create solid, un-moving start to the wire.

This “anchor” will allow the branch to bend and not be able to spring back to its original position. This takes significant technique and practice to master. Surprisingly (or not), I have some examples of a bad anchor.

A bad anchor, like this one, can allow the branch to spring back to its original position, or even damage the branch in some cases. Wire is also there to support your branch! My teachers would tell me to take it off and try again. Sorry!
The next step in wiring is to properly apply the wire to the branch. Just like the anchor, you must plan ahead when attempting to wire a branch. You need to avoid the foliage, and also allow space for you to wire secondary (branches coming off of the main branch that you are wiring), and tertiary branches (branches coming off of the secondary branches).
When doing the actual application of the wire, you should always be using both of your hands. Reach up from the bottom of the tree or branch. After creating your anchor, pin it to a strong base just before extending onto the branch.
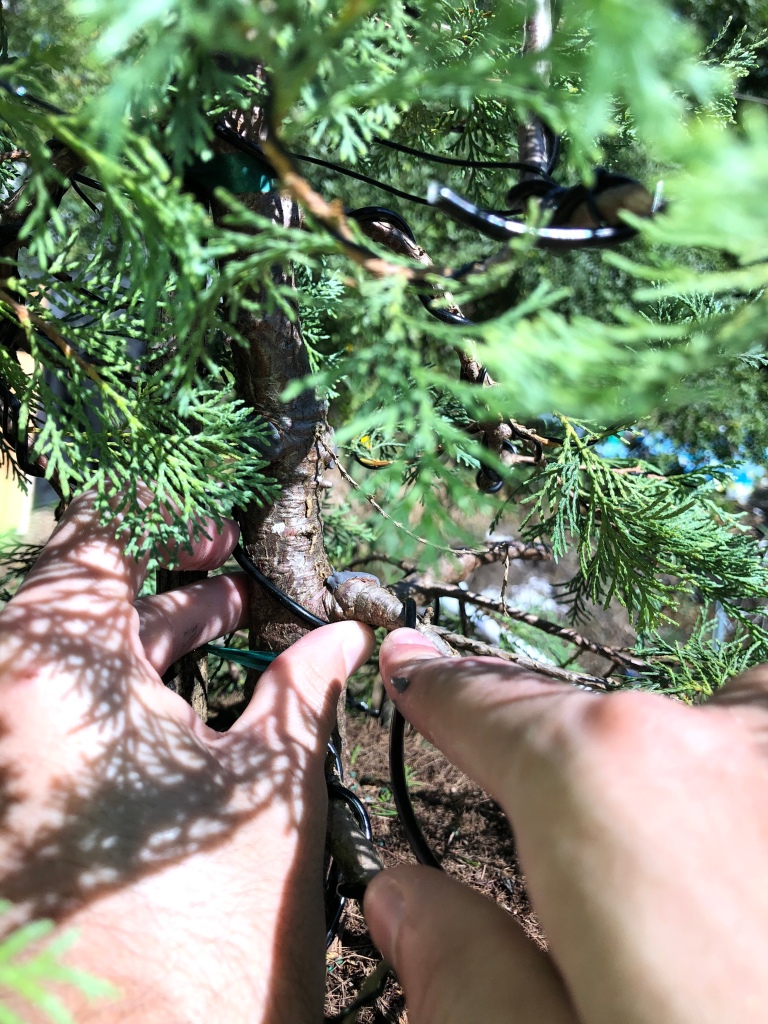
Once you have a couple of wraps around the branch, you can move your off-hand onto the branch.
Now we apply the wire to the branch. Hold the wire firmly on the branch with your off-hand a couple of turns behind where you are applying.

Then hold the wire a ways out from the branch with your wiring hand and move in roughly straight lines, effectively making triangles around the branch. This is what you should end up with.

Notice that there’s space next to the secondary branches. This is why!

To wire secondary branches, you use the exact same theory. Create an anchor (in this case, another secondary branch), use your off-hand to support the wire and the branch a few turns back, straight lines.
We’ll go over how to bend a branch and make it look good in a later post.
I’d like to cap this off by stating that I know the theory of wire pretty well. I’m still in the beginner stages of being able to do things like finding the best anchor, choosing which branches to pair, avoiding secondary branches and foliage, allowing room for secondary wire, physical application, etc. If you found this interesting and want to go further into those deeper aspects, check out the links at the top of my page.

Leave a comment