
In very general terms, most new bonsai trees should be potted in early spring. Tropical bonsai trees should be potted in very early summer before the extreme heat starts.
Deciduous trees such as elms and maples should be potted before the new leaves break out of their buds. Pines should be potted just as they are coming out of winter dormancy and prior to new growth. Junipers have a fairly long window that they can be repotted, but it should be somewhere between the time that they exit winter dormancy up until mid-spring. Tropicals such as ficus, umbrella trees, and Brazillian Rain Trees should be potted late spring/early summer.
If you are outside of these windows, it’s not to say that potting is impossible, but it becomes more difficult, and aftercare becomes absolutely critical. The safest method outside of this window is called a slip-potting where you don’t touch the roots. Slip the tree out of its container, follow the drainage prep and tie down instructions below. Skip the portion discussing root prep. It will be absolutely critical that you water properly and keep the tree in partial shade while recovering.
Typical nursery soil is not good for bonsai. It works great when planting the tree in the ground later, or if keeping in a deep container, but doesn’t work well in a shallow bonsai containerized environment.
Here is a video of the entire process. I also outline the process below in pictures and words. The video and written guides both have some unique tidbits of info.
First we prep the pot. The large hole in the bottom of bonsai pots is both for drainage and aeration. We need to first apply mesh over this hole. It allows for water and air to escape, but not your precious soil. First we cut a mesh square that is about 20% larger than the hole. It should look like below.

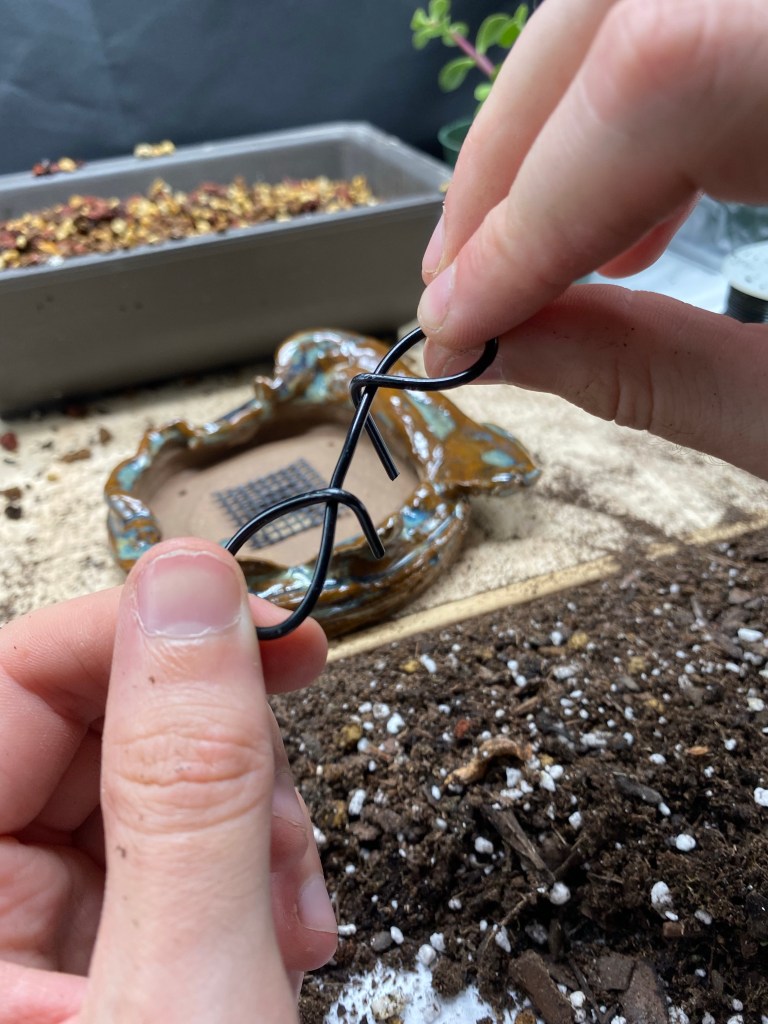
Now take some wire, and we make a loop around our finger (or a pencil/pen/etc.) like this.

Now make another one going the other direction. It’s critical that the distance between where each loop goes back over the wire is the same as the diameter of the hole in the pot. Both should go over the wire.

Now hold the loops and bend the ends of the wire downwards.
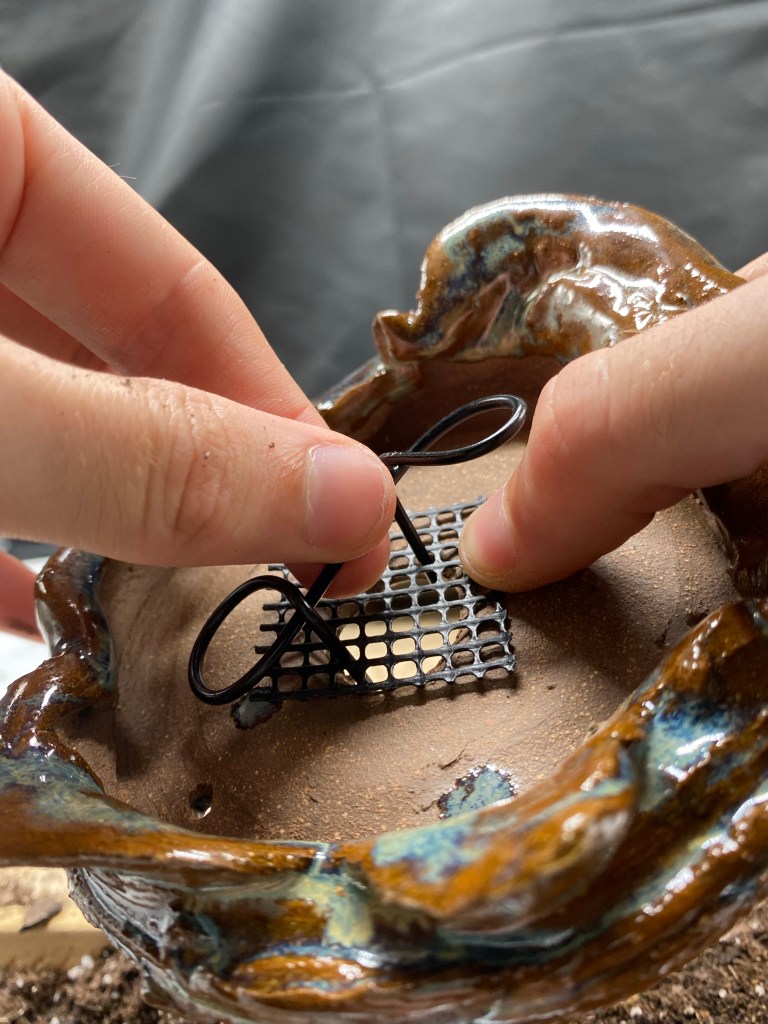
Place the mesh over the hole (on the inside of the pot) and poke the wire ends down through it at the very edges of the hole.
Flip the pot over, and sharply bend the wire to the bottom of the pot. Trim the wires so that only a small portion remains.

Now we prepare the tie downs. Use pliers (or a fingernail) to make a very sharp bend in the wire at about the 1/3 point.

Now hold the wire on the bottom of the pot, line the wire up with one of the tie down holes (the small holes on the perimeter of the pot). We want to make another sharp bend juuuuust prior to another hole on the opposite side of the pot. With some precision, this should cause the bent ends to go directly into the two holes and leave no “bump” of wire on the bottom of the pot. It takes some practice to get this just right. A small bump is fine, but if the wire has a big bend or doesn’t fit, you should try again.

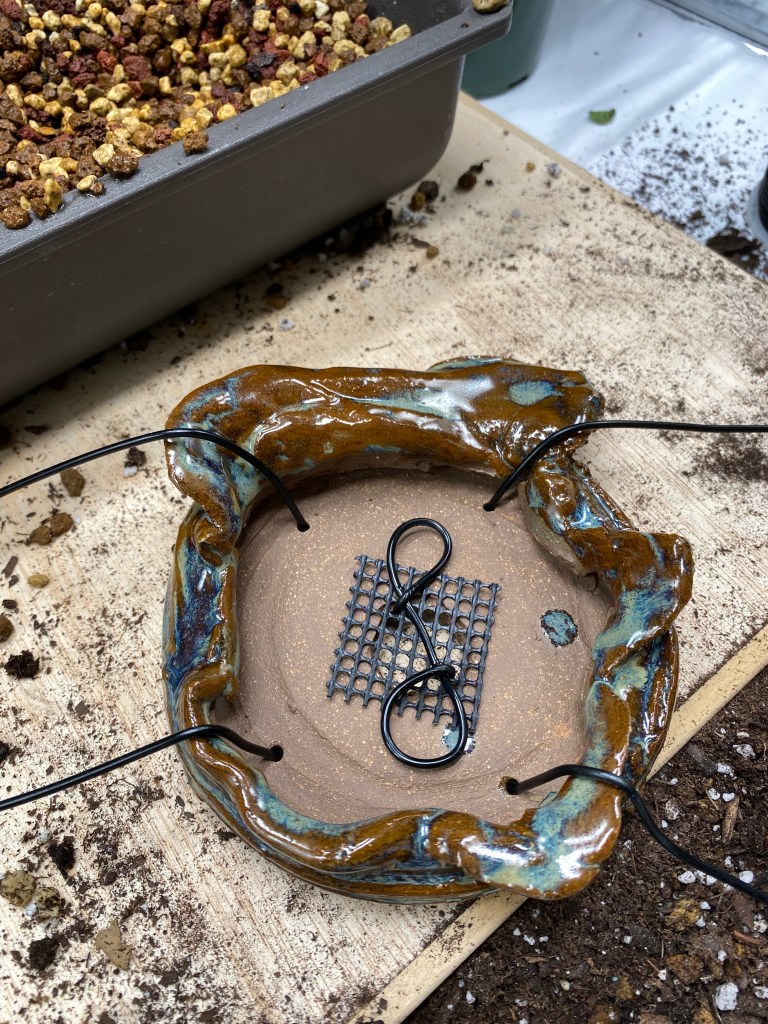
Now flip the pot back over, pull the tie down wires upwards, and make a sharp bend to the outside of the pot, bend upwards following the walls, and then bend over the top edges. This is what you should have.
Before we touch the roots, we want to make sure that we have water nearby. Some people keep a bucket nearby, but most keep a spray bottle on-hand. Make sure that the exposed roots stay wet throughout the potting process.
Now we’re ready to remove the tree from the original container. Inspect the roots for long roots circling the bottom and sides of the container. We want to remove those with a knife or sharp saw.
Use a chopstick or root rake (specialized bonsai tool) to gently tease out the roots. We don’t want to be ripping the roots, but really just straightening them out and teasing out nursery soil as we go. Note that we never remove all of the original soil when potting a bonsai. There is critical Mycorrhizal activity in that soil that works symbiotically with the tree. Removing all of the soil halts this relationship.

As long as we are in the correct season and the tree is healthy, removing 30% of the original roots should be safe. If you are more experienced (or risky), and if we are in the proper season, you can usually remove around 50% of a conifer’s roots, or upwards of 60-70% of a deciduous or tropical tree’s roots. If you are unsure, stick with 30%. Below is what you should end up with.

Remember to keep the roots wet!
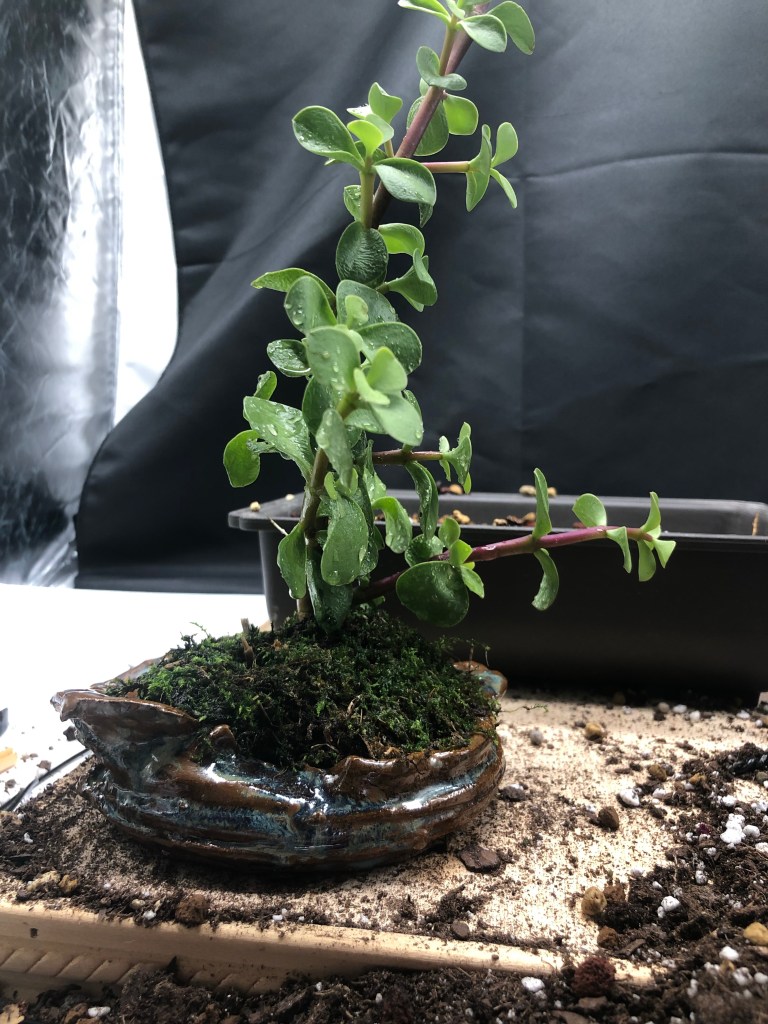
Place the tree in the pot preliminarily and hold the tree at the height and the direction that you want it to be planted at. The soil line will be at the top of the pot, and you generally need your roots to start just under that line height-wise. In terms of direction, we usually like to plant at at least a slight angle so that it introduces some “drama” or “interest” into the planting.
If there is a gap under the existing soil/roots we will need to add bonsai soil under the tree until there is no gap.
Now we can work on tying the tree down into the pot. Bend the tie down wires over the roots and soil. Make them meet off to the side of the tree’s root ball. It should look like below. If you used multiple tie down wires, make sure that both ends that you chose are of the same wire.

This next part is the trickiest part. We can start bending the two ends together with our fingers. Turn them together for at least a couple of turns and trim the excess.

Hold the twisted ends in your pliers (fingers will not do a good enough job here). Pull the wire directly outwards so that all of the slack in the wire is taken up. You don’t need to pull too hard.

Now twist the wires together while letting up on the slack. It it critical that you don’t pull and twist at the same time as it will snap the wire. If the twists start clumping, you need to adjust your pull angle so that the twists end up making nice clean twists like an ice cream cone.
This pull – twist cycle is repeated until the wire is tight on top of the root ball. At this point you should gently try to wiggle the trunk of your tree. The pot should wiggle with it. If the pot doesn’t wiggle with the tree, or if the tree wiggles more than the pot does, we need to continue tightening the tie downs or we need to add another tie down wire. This is critical for the health of the tree. I have never seen a wiggly tree survive.
Now the final step for smaller trees is to add more bonsai soil on top of the root ball and tie down wires. The soil should come just to the top edge of the pot.
For larger trees there is one additional step. We need to take our chopsticks again, and push the chopstick straight down along the edge of the pot repetitively. We should see some of the soil being pushed down around the edges of the tree. We’ll need to continually top off the soil as it gets pushed down along the edges and underneath the tree.
There’s more than one way to do this but I have had great success with this technique. I did about 12 initial pots or repots this spring and had no losses.

Leave a comment